Product help " Getting Started & Adding a Camera

Step 1:
Download app or open website
Download the latest version of the app from the App Store / Google Play Store and log in with your account.
If you do not yet have an icu account, register for free.
icuserver web portal
Click on the link and log in with your registered e-mail address in the newly opened window.
Smartphone App
Select the appropriate link for your smartphone on your phone:
Step 2:
Register your icuserver account for free
We have created a video tutorial for you to guide you through the registration process for.
Video - How to register & sign up for a free icu account with the icuapp
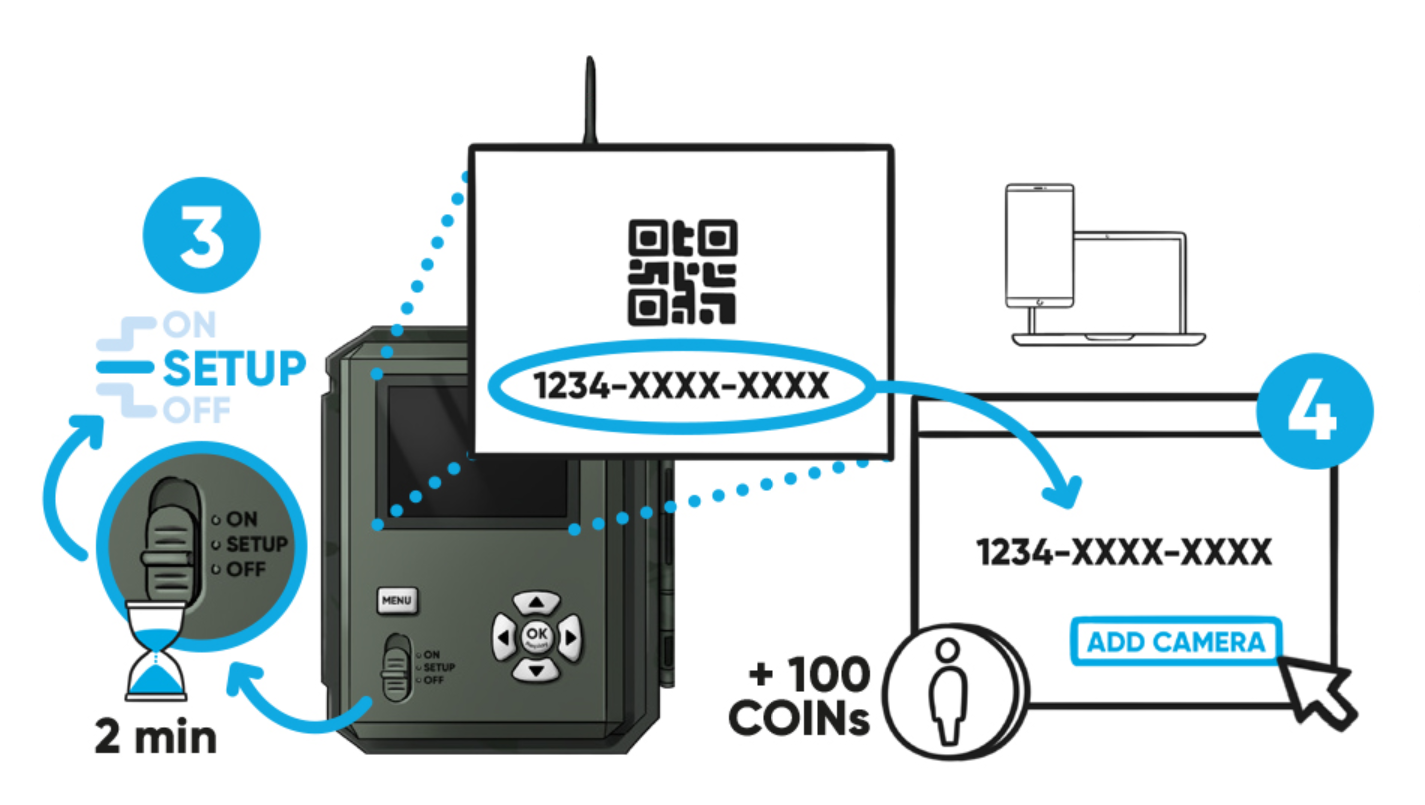
Step 3:
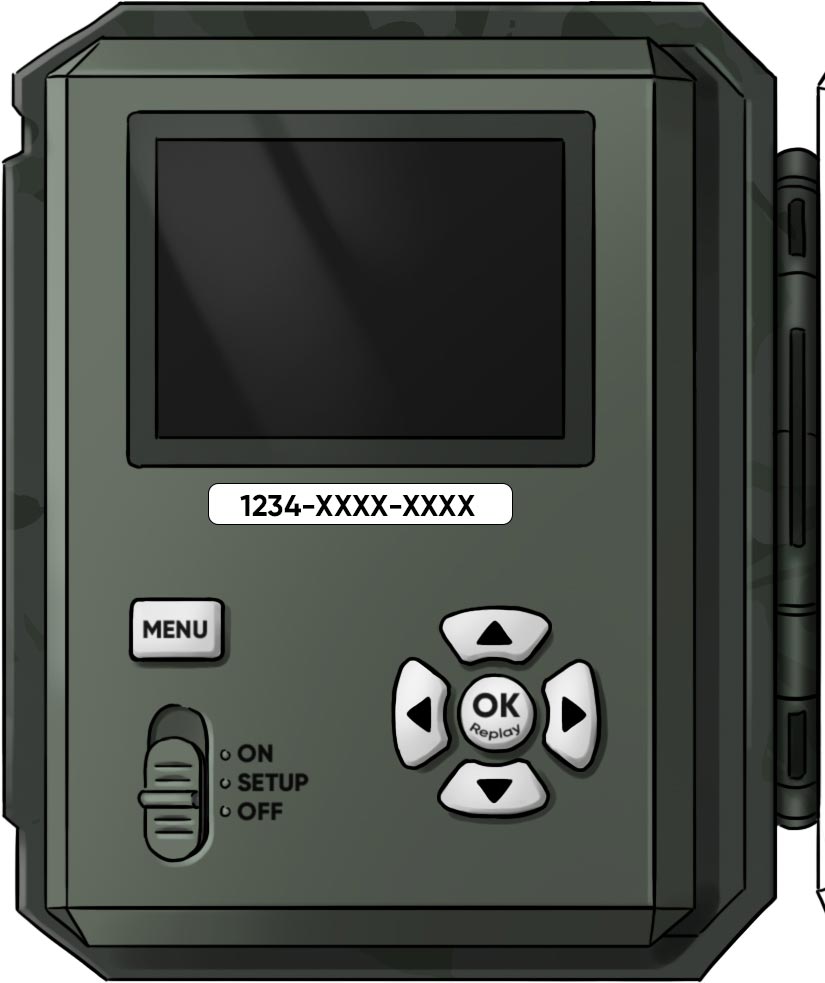
The InitKey - The unique number of your camera
Until autumn 2020, a sticker with the 12-digit number (init key) was on the camera. With the newer products, the code is stored in the camera. Please switch the camera to Setup and wait up to 3 minutes until a QR code and below it the 12-digit Init Key (=ID) appear.
Camera with sticker
For the models icuhunt, icutrap and icucam4 (until autumn 2020) you will find the 12-digit number (INIT key) on a sticker on the inside of the camera.
Camera with QR code
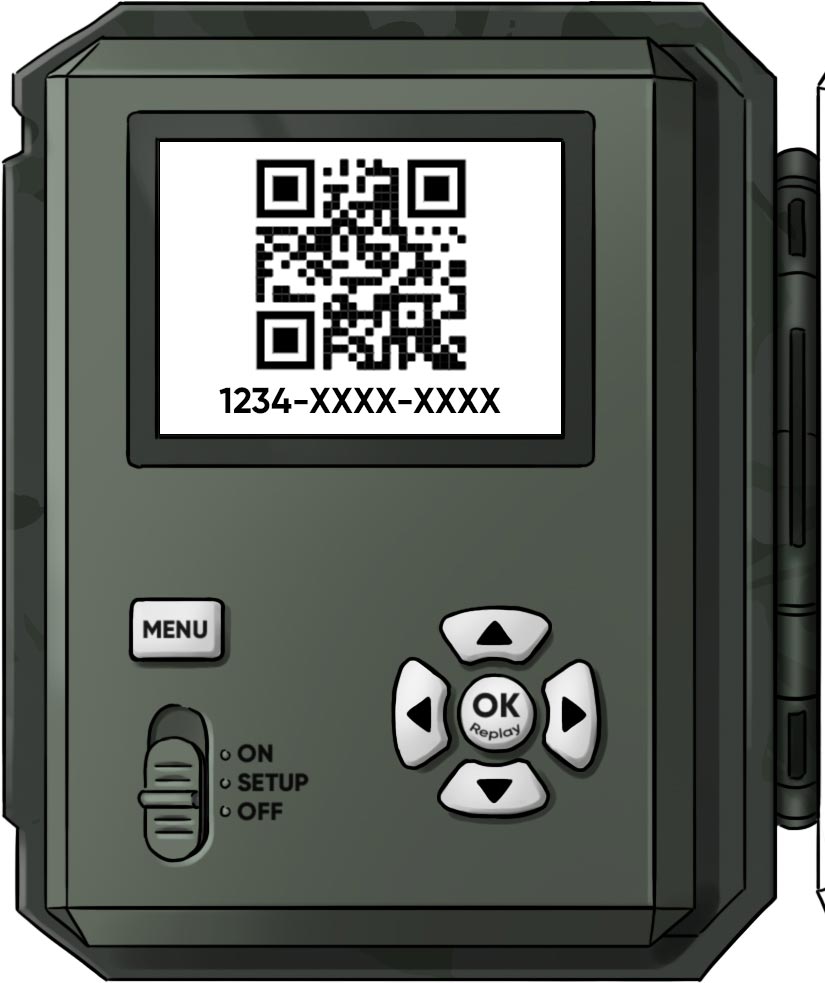
For the models icucam lite, icucam4 (from autumn 2020), icueasy and icucam5 a QR code and the 12-digit number (INIT key) are shown on the camera display after switching on.
Step 4:
Add the camera to your account:
icuserver web portal
- Navigate to Cameras and click on "Add another camera".
- Enter the 12-digit init key to connect your camera to the account
Smartphone App
- In the menu, select the menu item "Cameras
- Click on the plus in the bottom right corner
- Scan the QR code on the camera display or enter the init key
Step 5:
Completing the setup on the camera
Slide the switch on the camera to SETUP and wait up to 3 minutes without pressing a button. With the message "Status OK" or "Status message successful"the registration of the camera is done.
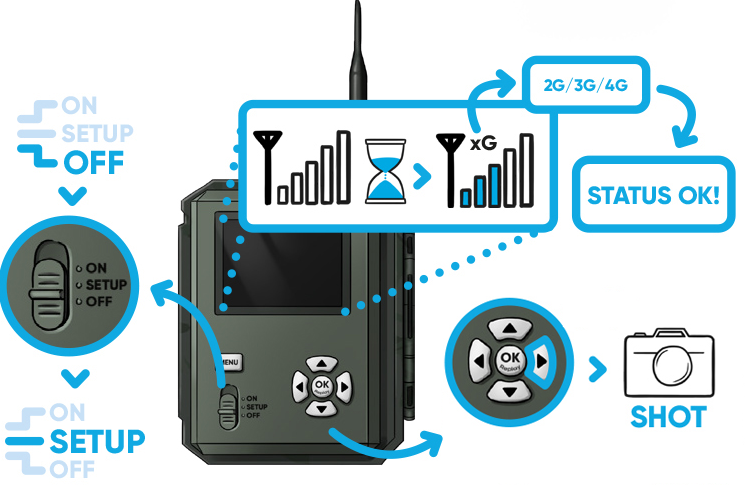
By pressing the right arrow key, you can take a test photo on most camera models.
For the 3G cameras, the "OK" button must be pressed.
Your camera is now ready for use! We wish you much joy with it!
These articles might also interest you:
Do you have problems or questions about registration/login? Contact us